Showing posts with label bias tape. Show all posts

Wednesday, November 23, 2011

Tutorial Wednesday


The girls have fallen in love with the hibiscus flower after we had a little holiday up at Noosa.  The units that we stayed at used the hibiscus as there logo and they were planted all around the grounds.

Of course when we returned home and went to buy some new plants for our front garden, they had to have their own hibiscus plant.

DSC05922

Then I remembered that I had picked up a pink sarong from the charity shop for 50 cents ages ago.

DSC06514

Originally when I picked it up I thought I would just make a pretty dress for Miss J as pink is her favourite colour.  But as soon as Grace spotted the hibiscus well I wasn’t going to get away with just making something for just one of them.

So to put the thinking cap on.  It had already been cut  for some reason so it was not big enough for 2 dress in the pattern I had in mind.  Then the light bulb went off and I decided to make them a dress each using the ‘Pillowcase style’ that I had made when participating in a charity drive making dresses for “Dress a Girl Around The World”.

Its such an easy pattern that even a beginner can make them.  You can find all the details for dress sizes here and the instructions here.

To get the two dresses out of the sarong I just folded it in half length ways and then measured and cut it in half.

As it was already hemmed on 3 sides I just overlocked (you can over edge/zigzag) along the one side, folded together, pinned and overlocked the two sides together on both dresses.

DSC06517

For the arm holes I measured 3 inches in across the top and then 4 inches down along the side and using a bread plate I marked and cut the arm holes.

DSC06521

To gather the top of the dress, I folded down about 1 inch across the top and sewed. I did this for both the front and back of the dress.  Then with a 7 inch length of elastic, I used a pin to push it throw the hem and sewed on both ends.

DSC06529

Then using bias tape for the straps I pinned and sewed that along the armholes.

DSC06530

And here they are.  My girls will not stand still for pictures, they insist on running around for some reason.  Love the purple boots Miss G.

DSC06535

At least I know the dresses will survive them playing in them.

DSC06537

DSC06538

HHmmm what else could I make from a sarong?

Happy Sewing!!

Wednesday, November 16, 2011

Tutorial Wednesday


Terry Towelling Nappy Cover

I bought these cute little nappy covers for Ethan a couple of weeks ago from Kmart for $3 and he has been wearing just them, no t-shirt, over the passed 2 weeks due to the heat.

DSC06038

I actually got another pair with Mickey Mouse on the back of them with some other goodies from a family friend after he was born and thought to myself I can make them.  And So I did.

What I used:

  • Blue Terry Towelling
  • 3/4 inch elastic
  • Bias tape

First I took a template from the pants and cut out my two pieces.  The original pair are a size 00.  When I traced the outline for the front of the pants I made them just a little big wider to allow for the seam of the leg holes.

DSC06389

DSC06391

DSC06392

Now because I was trying to do this and deal with 3 very hot and cranky children, I didn’t realise I should have placed the leg holes a little bit more to the right as you can see from the picture above.  I will re do this before I put the link up for you to download the pattern.

I placed both paper patterns onto the fold of the towelling and cut them both out. The next step is to pin and sew your bias tape, as I have used, or you could use fold over elastic. My tape measured about 13 inches for each leg hole. It’s a lot easier to do it now then after you have sew the leg holes together. 

DSC06393

Pin and sew the leg holes together:

DSC06394

The next step is to pin right sides together and either sew or serge the two pieces together.

DSC06395

This is how they should look so far.  The next step is to attach the waistband.

DSC06396

The waistband on the bought pants is actually a fabric waistband with thick elastic threaded through.  I chose to just sew some 3/4 inch elastic I had. 

With right side facing out I placed the elastic to the edge of the waistband and sewed all the way around leaving a little at the beginning and end to over lap and together.

You can pin it on first but I found it easier to feed them through by hand as the towelling edge rolls up.

DSC06397

DSC06398

Then I turned the elastic up and top stitched all the way around.

DSC06401

And then your done.  And here is my little model.  They are a bit big but they will last him through summer. 

DSC06404

DSC06405

Love those chubby little legs. He was too busy wriggling around in this one:

DSC06411

Happy Sewing!!!!

Tuesday, September 6, 2011

Thread Catcher

DSC05222

On Saturday hubby took the girl’s out 4WD so it was just me and the little man, so when he was having a nap, I thought it was about time that I made something for myself and write a tutorial on it (it has been awhile).
So what was I going to make?  Well there was a few things I wanted to do but as the little man could wake up at anytime I decided to make myself a thread catcher for the sewing machine. 
I was at my local haberdashery the weekend before, Sewers Delight, and while I was waiting to be served (I was looking for a bias tape ruler) and drooling over the overlockers lol, I noticed these little handmade bags that where hanging from the sewing machines. HHHmmm a thread catcher what a great idea and better then the plastic bag I have attached to my sewing table ( and yes that is the xmas tree and the wheels for the buggy under my table lol, I’m setup in the garage):
DSC05187

Sewers Delight actually hold sewing classes and as they are a few of these bags hanging around the shop, I assume that is where they have been made and as I do not know who the owner of the original pattern is, I apologise for not giving recognition.

I have also made my catcher with one button not two.

So what did I use to make this catcher:
  • 1 x FQ (I have had this one for a while as the colour ran when I prewashed and wasn’t too sure what I was going to do with it)
  • 1 x Button
  • 1 x Headband (you could use curtain wire or craft wire also)
  • lining ( i used medium weight)
  • strip of bias tape for loop to hook over button
DSC05188

So after you have prewashed and ironed your FQ, measure and cut the material in half:

DSC05190

We will make the pad that sit’s under the sewing machine first. Measure and cut a piece of lining the same size as your piece of material:

DSC05191

With both the material and lining together fold in half with right sides of material facing together and sew. This will make your square pad for the sewing machine to sit on.  Don’t forget to leave a hole to turn the fabric out the right way:

DSC05192

You will now need to top stitch around the pad, but first iron nice and flat and pin the hole. I used my blind stitch hem foot to sew my top stitch as it helps me to sew in a straight even line all the way around:

DSC05201

All finished, now to make the bag:

DSC05203

Serge or overedge stitch your piece of material to finish off the edges (you can line the bag but I chose to just use the zigzag stitch to finish the edges as I don’t have an overlocker, yet!! lol) :

DSC05206

Pin sides and sew:

DSC05209
Using a gauge ruler (if you don’t have one you should get yourself one as this makes measuring hems so much easier) or measuring tape to mark a hem 1.5 inches:
DSC05213,
Now to iron, pin and sew, making sure to leave a gap to thread the headband thru.
DSC05214
For the loop I used a strip of green bias tape, 4.5 inches in length, but you can make a loop out of matching material or elastic band. Pin and sew below the hole where the headband will be inserted:
DSC05215DSC05216
Now to just feed the headband into the gap:
DSC05217
And here you have it
DSC05222

To make the bag sit up higher you could put two buttons  on the pad and  2 loops on the bag (that is the way they had made them at the shop) to hold it up.  See how I go and I might end up changing it but I hope you get the idea!
Happy Sewing!!!!

Monday, August 22, 2011

Link Party Likes #11


Last week I finally managed to get in front of the sewing machine.  It was so great to finally make something again.  I had a lovely lady ask for a bib and burp set made these lovely owl prints:

18082011233

18082011234

It was also my birthday on Friday and my wonderful husband bought the Simplicity Bias Tape Machine that I have been wanting for ages:

19082011235[1]

So I had to go to my local spotlight and stock up on all of this:

20082011243[1]

I also had the pleasure of testing a pattern for Sumo Sweet Stuff.  Just loved making these dresses for my girl’s.  Very easy to follow instructions so keep an eye out for this one:

DSC05124DSC05126

I’m also part of a charity drive for Dress a Girl Around the World so will post some pictures of the dresses when they are finished.  It’s a great cause and if you love sewing why not take part.

But for now here are a few things I found and loved on the Link Up Party’s last week:

Sew much ado has shared this maxi dress tutorial.  Going to give this one a go as I would like to make a few dresses for myself this summer:

Katie J. Gibson show’s how to make a nursing blanket:

Etcetorize made her own version of a victoria secret dress:

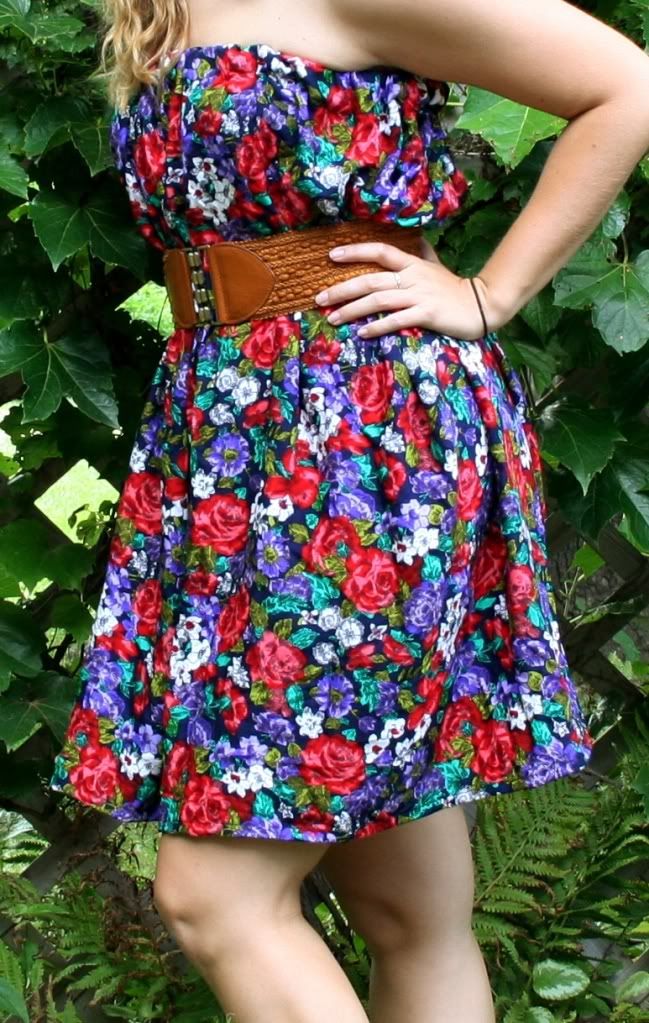
Simple Sewing project, DIY Summer Dress, Victoria's Secret Dress, Tube Dress, Summer Dress, DIY Dress

Everyday Art, again love what Emily comes up with:


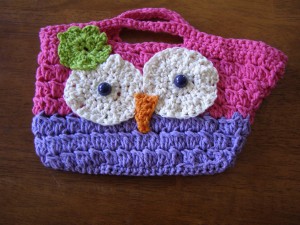
Got to love the owl craze that is going on at the moment. Here is another take on the owl craze by Off My Hook:

Love this 3 Stitch Summer Dress over at A Law Students Journey:


And last but not lest, why not refashion your old t-shirts into something new just like over at Just Down the Hall has:

I’m off to sit in front of my sewing machine.  Happy Sewing!!!!!!